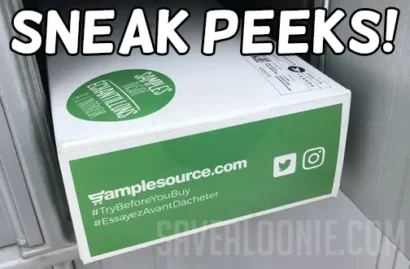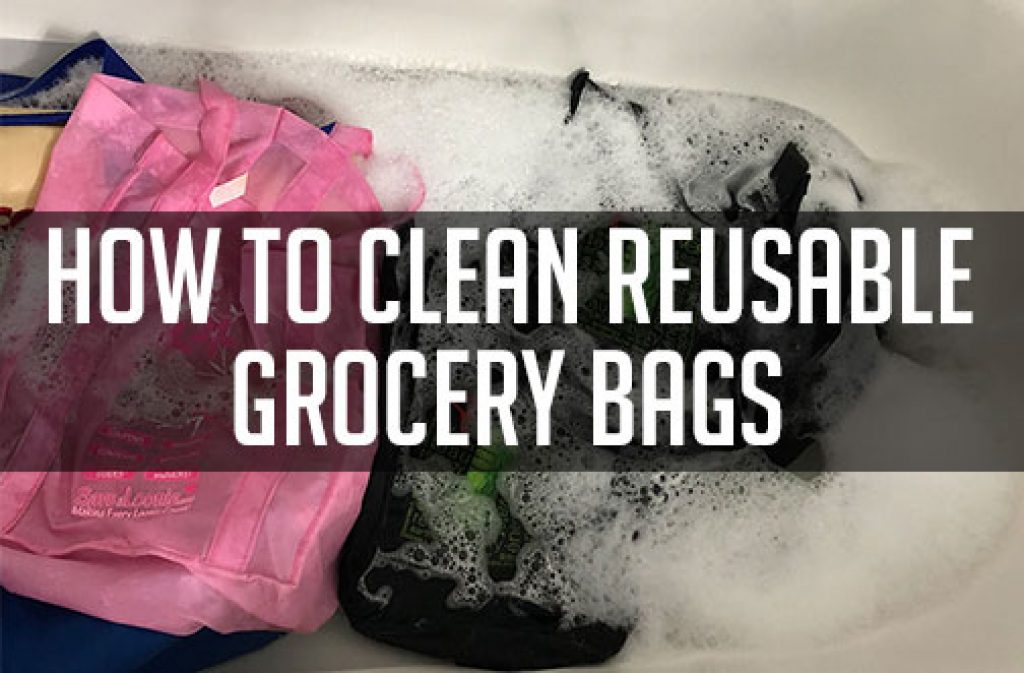
For almost as long as I can remember now (I’m 35 for reference!), reusable grocery bags have been common place. But when did you last take the time to clean reusable grocery bags?
I recently asked myself the same question, and my answer (to myself) was surprising, and honestly, kind of gross. NEVER. Ok maybe that’s an exaggeration, but it’s been longer than I can remember!
I have dragged those bags all over the place! They’ve been in countless stores, in my trunk & floor of the backseat; I’ve used them to bring food to parties & potlucks; they’ve toted craft supplies, clothing, and dog stuff. Once I thought about it, I cringed at the amount of dirt & germs those bags are probably holding. I’m a pretty tidy person (some people might refer to me as a clean-freak) but for whatever reason, those bags escaped my regular cleaning routines.
So I decided to spend a couple hours on a Saturday afternoon and get those babies fresh, clean & ready to be used again. It was super easy, not at all labour intensive and the results spoke for themselves.
Here is the step by step for how to clean reusable grocery bags.
1. Gather your bags and put them in the tub
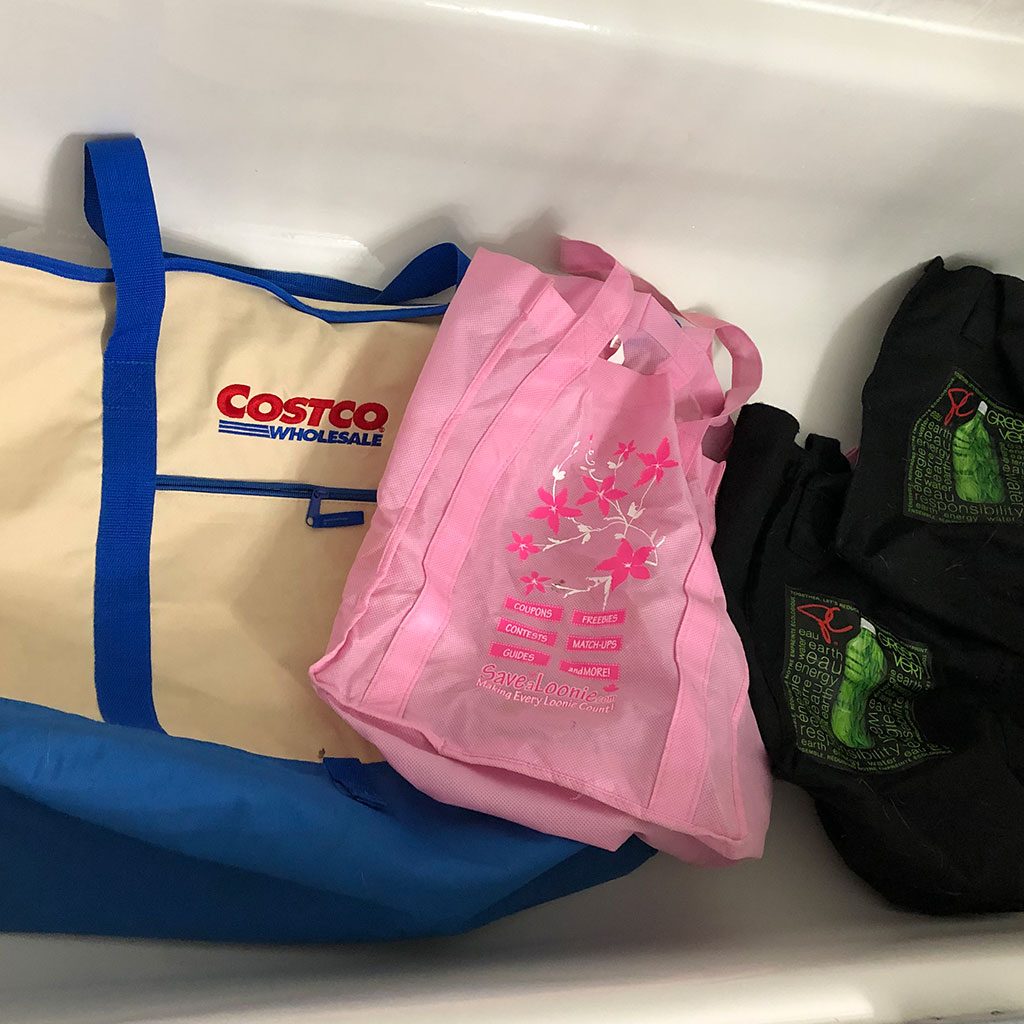
I probably have 50 reusable bags – different materials, different sizes, from different stores/brands/companies. Obviously, there is no way I could fit them all in my bathtub, so I picked 4 of the bags I use most frequently, including an insulated tote bag.
To get started, gather up the bags you want to wash. Make sure they are emptied out (receipts, onions skins, etc), zippers are open and toss them in your tub. Limit the amount of bags you wash at one time, so your tub isn’t overly crowded. I found the 3 fabric bags + the insulated tote was a good amount, although I probably could have added another fabric bag or 2 and been alright.
2. Add dish soap
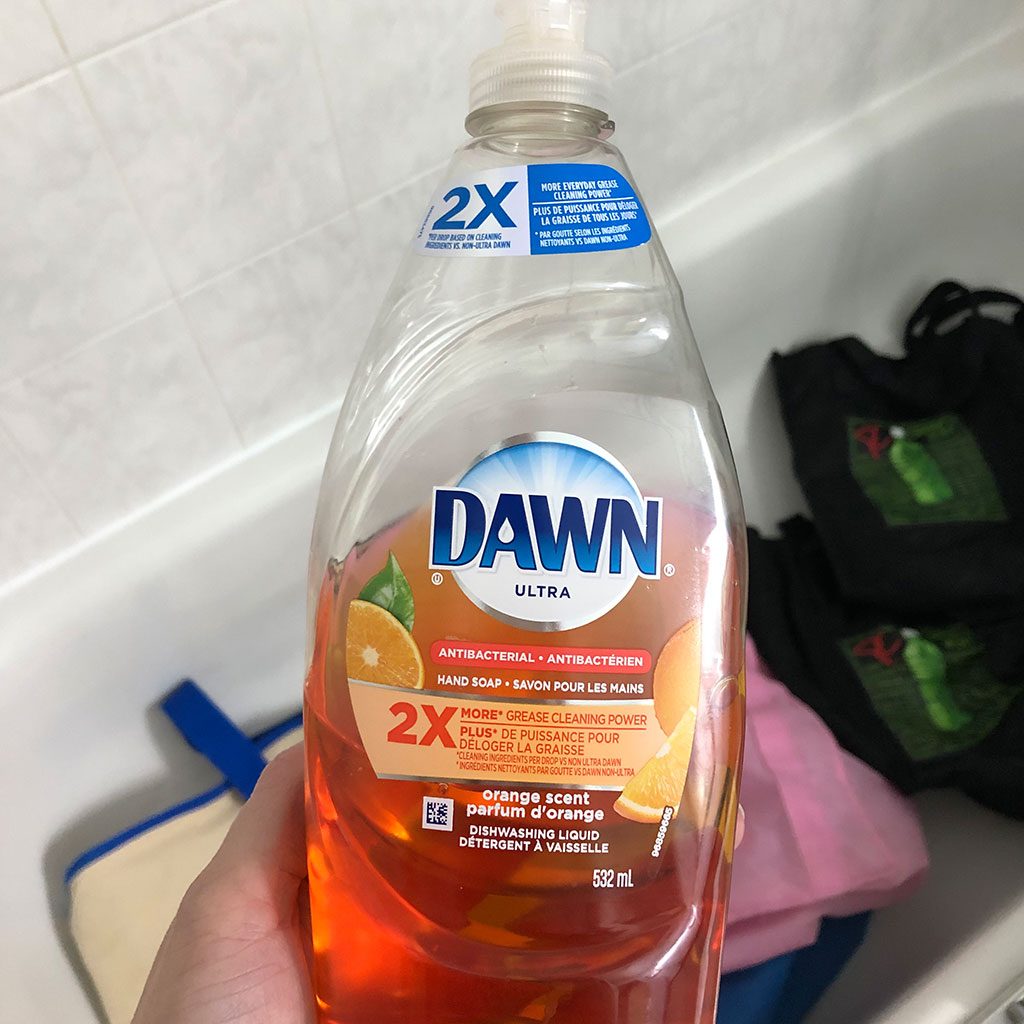
No fancy or expensive cleaners needed – just head to the kitchen and grab your dish soap. I chose Dawn Orange Scent Antibacterial Dish Soap for the extra germ fighting properties and clean smell, but any dish soap would work. Just use whatever it is you have on hand.
No need for measuring or specifics here. Squeeze a generous amount of dish soap into the tub. I used a tablespoon (or 2?) and just squirted it all over the bags and into the bottom of the tub.
Avoid using bleach, household cleaners etc, as they may damage the fabric or lining of your bags.
3. Fill the tub with hot water
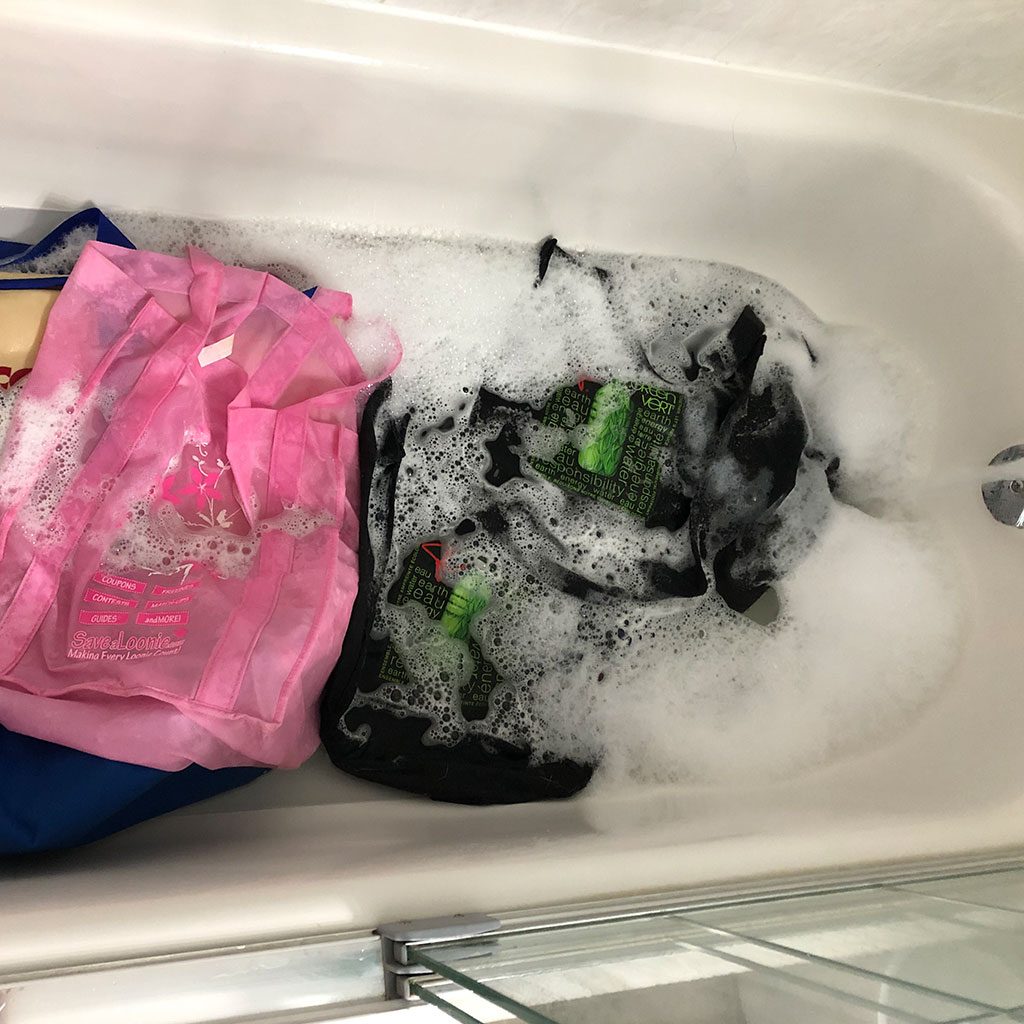
Put your drain stopper in and start filling your tub with HOT water. The hotter the better to help kill off any viruses/bacteria/etc that may be living in your bags. Fill the tub about half way full, or until your bags are mostly submerged.
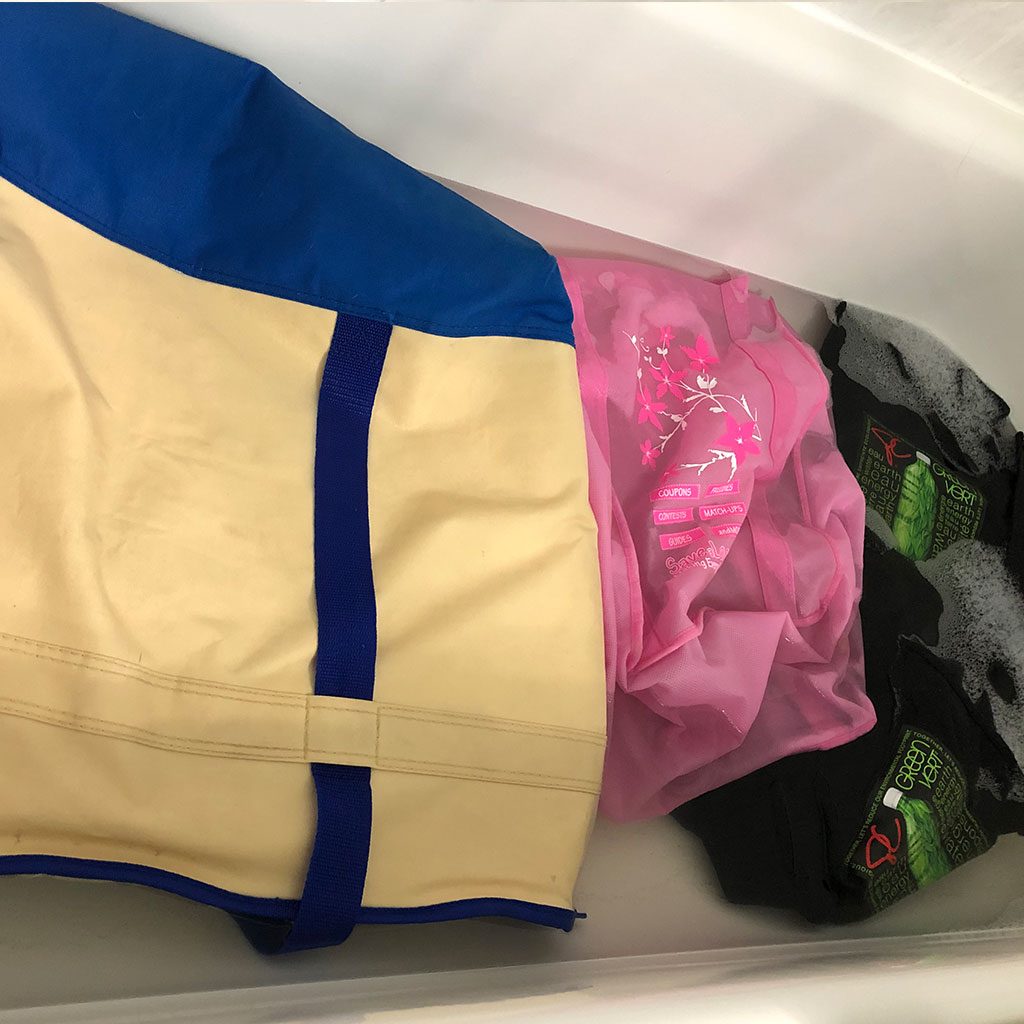
You may find the insulated tote floats rather than sinks. I found a combination of opening the bag and letting the water fill in + pushing it down with my hands, helped the water distribute more evenly.
At this point, I could start to see the water in the tub already changing from clear to a light brown tinge.
4. Let your bags soak for 1-2 hours
Now you can just sit back and let things happen! Leave your bags to soak in the hot water for 1 – 2 hours, or until you feel they are sufficiently cleaned.
It is a good idea to occasionally check in and give your totes a flip. You can also give a light scrub to any tough stains or spots you notice, to help break them up.
This is after 2 hours of my bags soaking.
5. Drain and Squeeze
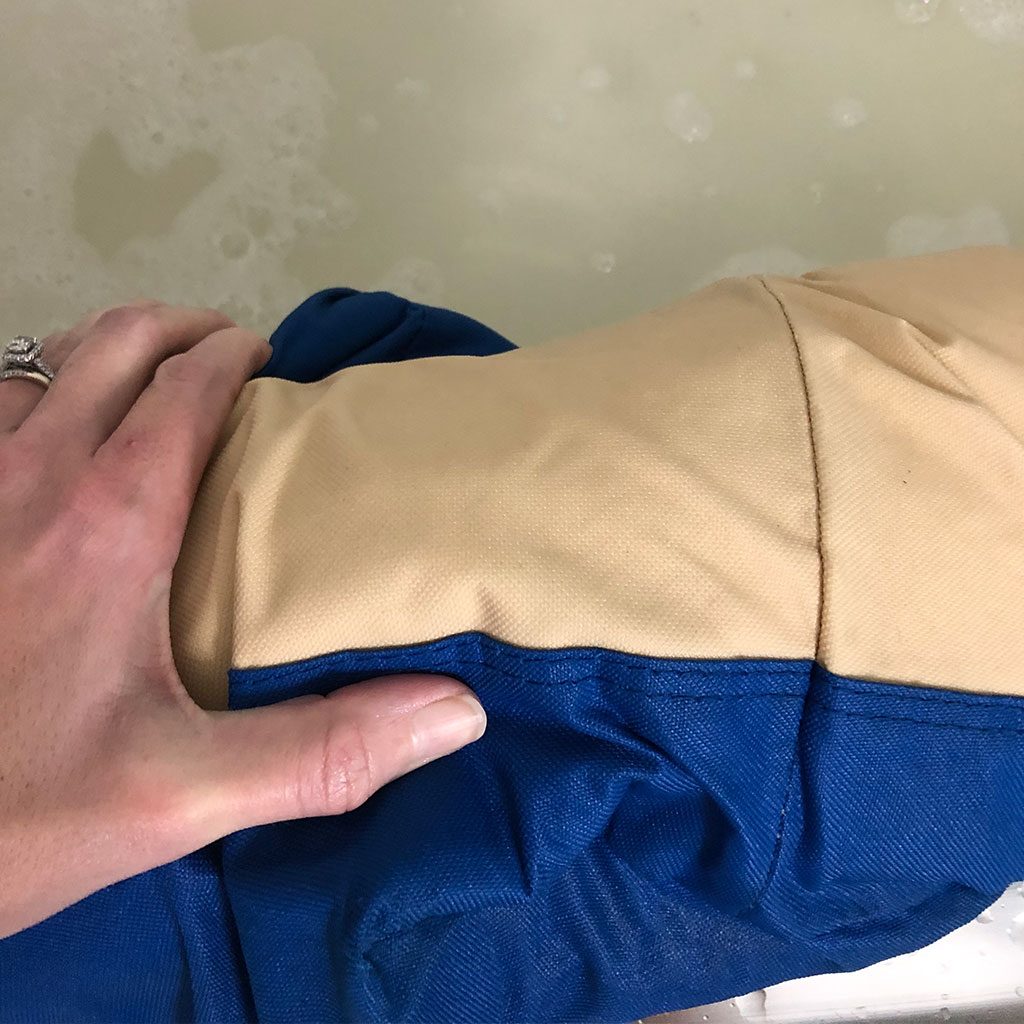
This is the most work you will have to do, draining & squeezing your bags.
Once, you’re satisfied that your bags having been soaking long enough, it’s time to dry them. Start draining the tub and taking out your newly cleaned bags. I started with the fabric bags, because they were the easiest. Just a quick squeeze and the majority of the water came out. The insulated bag posed a bit more of a challenge.
It was HEAVY picking it up, obviously, as it was now full of water. It took about 5 minutes of repeatedly rolling the bag up and squeezing it against the side of my tub to get most of the water out. You may want to wait until your tub is mostly drained before doing this. I almost dropped the bag back into the dirty water a couple of times!
6. Hang bags to dry
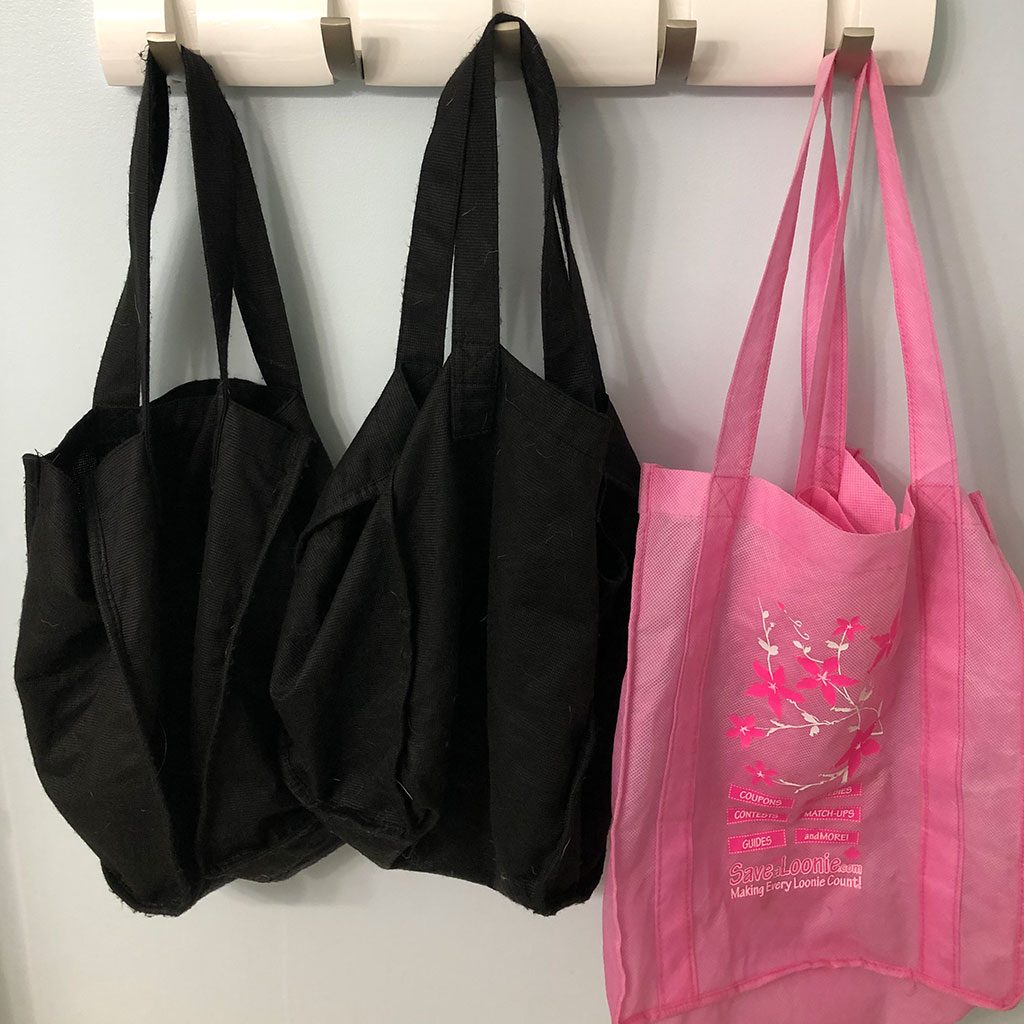
Once you’ve squeeze the majority of the excess water from your totes, hang them up to dry. Avoid the dryer as it may damage the silk screening (design) on the bag, or in the case of the insulated tote, degrade the lining.
I opted to hang our bags off our bathroom hooks. If it was a nice sunny day out, I would have hung them outside. Even after squeezing the insulated bag, I couldn’t get all of the water out. I hung that bag off of the shower head inside the tub. It was still dripping quite a bit and didn’t want it all over the floor.
I was overall quite happy with how clean my bags came out! There are still a few stray dog hairs stuck to them (a never-ending story in our house!) but I’m confident they are ready for my next shop.
7. Clean the tub
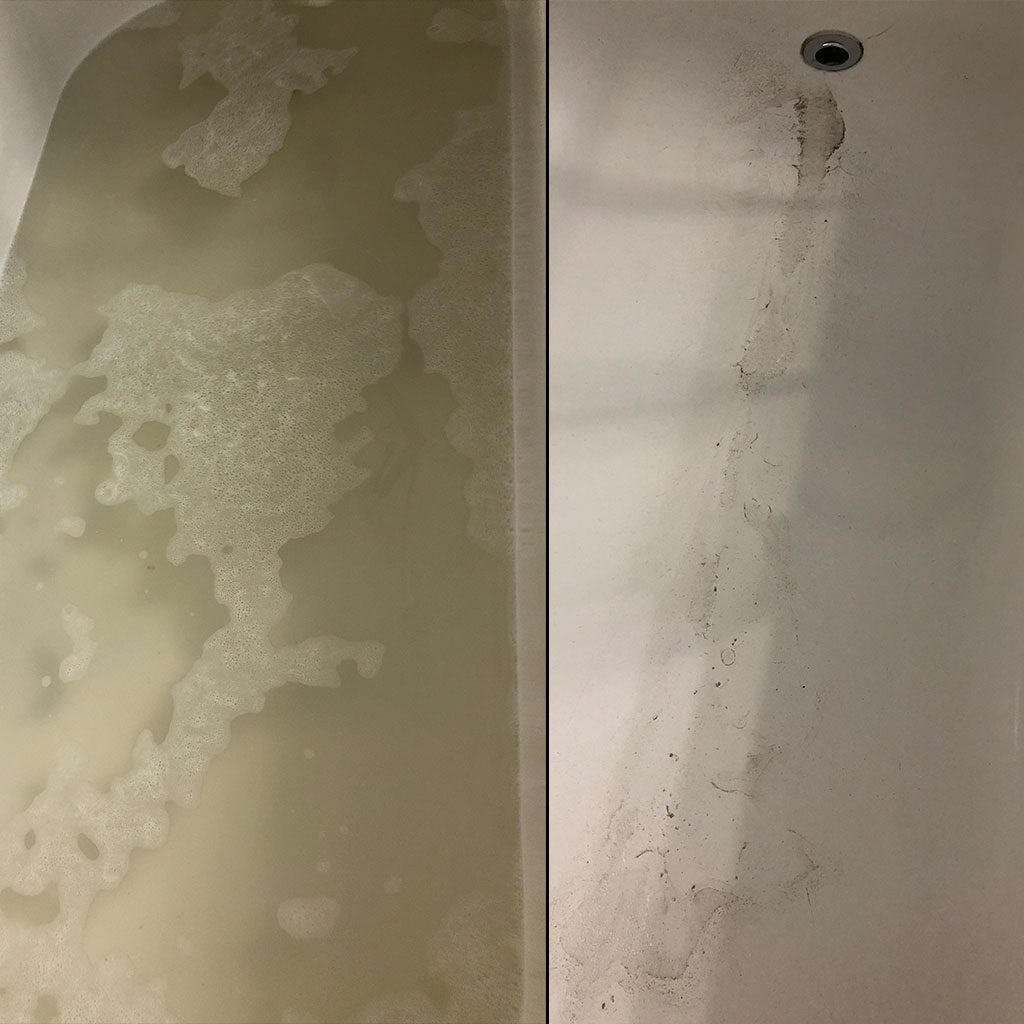
And if you needed any more proof that your bags actually were in desperate need of cleaning, just look in the tub afterwards. I was horrified by the colour of the water, and equally by the dirt trailing that ran along the bottom once it was empty.
A suggestion, wait to do this until you plan to clean your tub anyways. That way you won’t feel like you have to do a job to clean up after another job – it was something you were going to do anyways.